
Howdy....!
Let's keep on learning design with belajar design t-shirt. In this post, we still use black solid color as background. And I'm sure, you still remember this default setting for canvas. Don't be shy to read my last post how to set it.

Also, in this post we still use the same technique as my last post entitled Design t-shirt with simple text Gue Banget. Refresh your mind by re-read and practise it.
Okay, let's start.
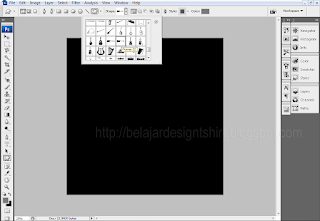
First of all, we have to create a guitar shape on canvas. Activate your Custom Shape Tool (U) and choose a shape named Forme 22. You can download this kind of shape in this download link.

Rasterize the guitar shape layer in order to manually editable. Click Layer > Rasterize > Layer.

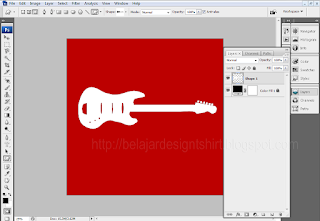
Select guitar shape. Press Ctrl + Click on layer thumbnail. See the screenshot below.

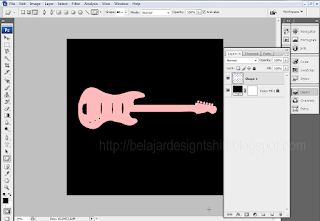
Press Q on keyboard. This action will move to Quick Mask Mode. The selected area shown in red color.
Press Ctrl + i to move selection into guitar shape. The red area become black.
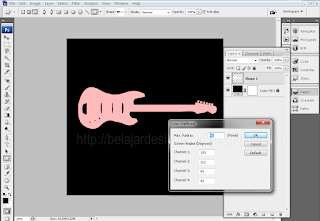
Click Filter > Fixelate > Color Halftone.

Fill in Max. Radius: 30 till 40 px and press OK. Another fill form is optional. Don't make change on it. See the effect. Guitar shape become little bullets. Press Ctrl+F on keyboard to adjust the guitar bullets. If you've satisfied with the fillter, keep on to the next step.
Press Ctrl+i, and then press Q to come out from Quick Mask Mode.

And this is the last result that we need from these action. The bullet selected area shown blink selected and look like a guitar.

Delete guitar layer. Right click on guitar layer and delete layer.

Blink selectected area found. Create a new layer and named Layer 1 automatically.

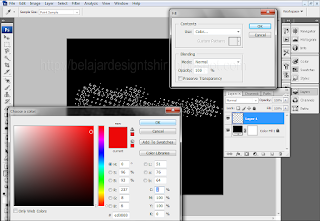
Click menu Edit > Fill. Use: Color. Personalize your own color. In this belajar design t-shirt, we use red: #ed0808 Mode: Normal Opacity : 100%.
If you're on the right track, the effect is just like shown below. Wipe away the selection by pressing Ctrl+D on keyboard.

Add guitar bullets [Layer 1] with outer glow. Click Layer > Layer Style > Outer Glow.

Fill setting such Blend Mode: Normal, Opacity & Noise: 100%, Spread & Jitter: 0%, Range: 100% and size: 100px. Personalize your own color.

Till this step, we've finish making a guitar shape style. What do next? We have to make a text on guitar layer. Please, re-read my last post to accomodate This.

If you're on the righ way, you'l find your result as shown below.
Make Sure Text Gue Rock n Roll is selected and layer Color Fill 1 is hidden. Find out how to hide a layer on the last post. If you've done, click Layer > Merge Visible.

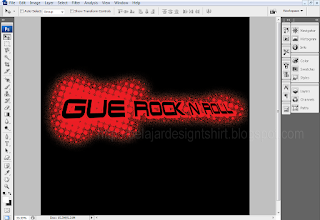
And the result is all shape merge into one layer named Gue Rock n Roll.

Press Ctrl+T to make transform on the layer. Adjust your personal style like show below.

This is how could be when printed on your t-shirt.

See you..!
4 komentar:
nice design.. im amazed.. thanks for the guide too.
I Love it! GUe Rock n Roll"
Nice articel and information. btw i have followed too here. thanks friend.
nice info..
rock n roll dude!!
Posting Komentar